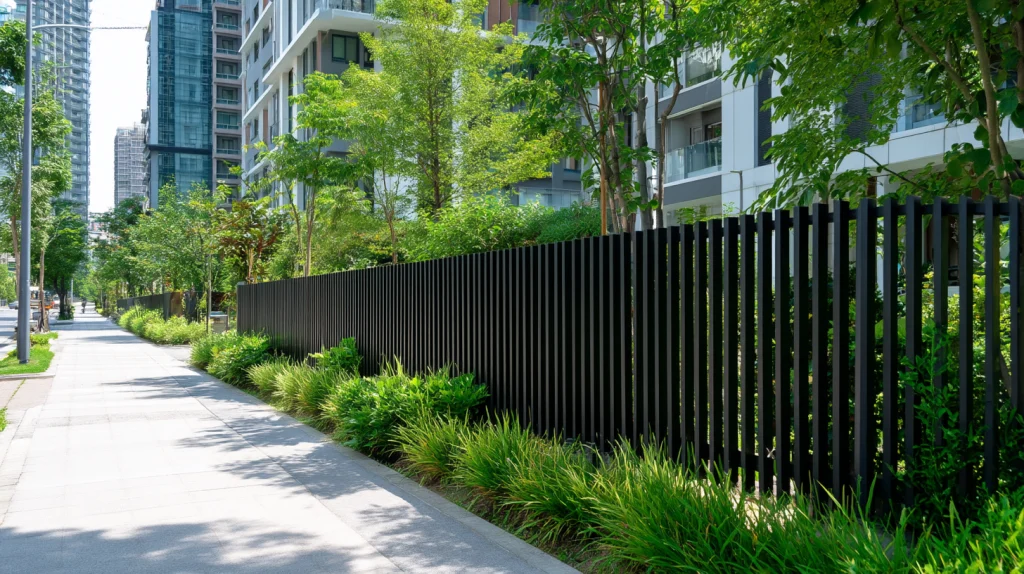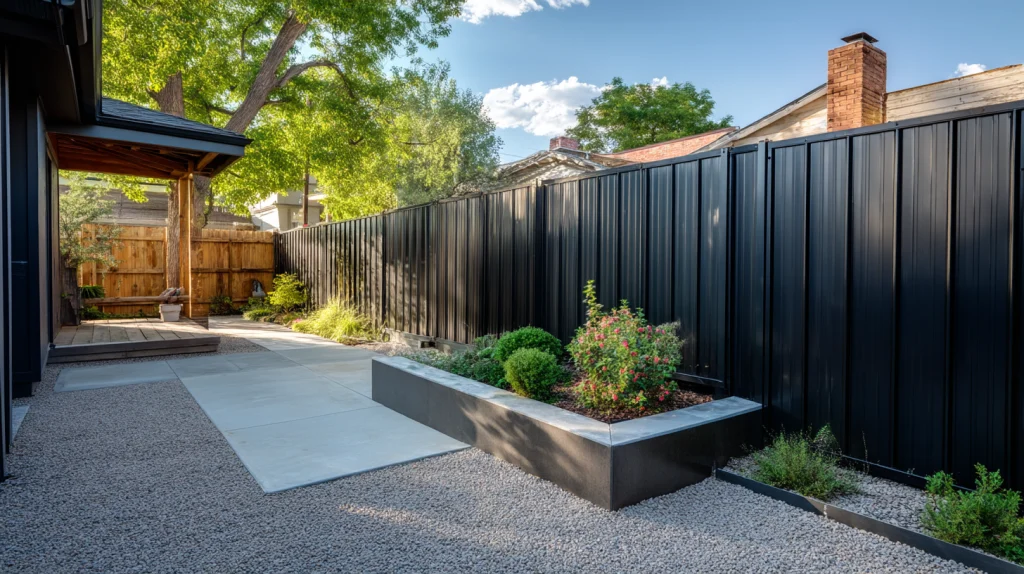
Knowing how to build a fence gate is one of the most valuable skills for any homeowner working on outdoor improvement projects. A fence gate is the most used moving part of a fence system, and it must handle daily access, weather changes, and constant pressure without failing. When done right, a sturdy gate improves security, keeps pets and dogs safe in the yard, and adds visual balance to the fence around your house. When done wrong, gates sag, scrape the ground, or pull posts out of alignment.
This guide explains how to build a fence gate step by step using proven building practices. Whether you are replacing old gates, adding a new gate to a new fence, or planning a double gate for wider access, the process below focuses on strength, alignment, and long term durability.
Why a Well Built Fence Gate Matters
A fence gate is the weakest point in most fences because it moves. Every time the gate opens and closes, force is transferred to the hinges, the post, and the gate frame. If any part of that system is weak, sag appears quickly. A sturdy gate protects access points, keeps children and dogs contained, and prevents unwanted entry from the other side.
Poor installation often leads to gates that drag on the ground, fail to latch correctly, or twist out of square. These problems usually trace back to shallow post holes, weak frame pieces, or missing bracing. Building correctly from the start helps prevent sagging and extends the life of the fence as a whole.
Tools and Materials You’ll Need
Essential Tools
Most fence gate projects require basic tools that many homeowners already have. These include a tape measure, level, drill, saw, clamps, and a post hole digger. A framing square helps keep corners accurate, and a shovel is needed to dig and fill holes. A power drill with bits for drilled pilot holes and countersunk holes is critical for clean connections.
Recommended Materials
Material choice plays a major role in how long the gate lasts. Pressure treated wood or cedar are common choices because they resist rot and moisture. Cedar is lighter and naturally resistant to insects, while treated wood offers strength at a lower cost. Galvanized or exterior grade screws, lag screws, and durable hinges are necessary for strength. Concrete is used to lock each post in place and prevent movement. Hardware such as a latch and hinge set should match the size and weight of the gate.
Step by Step Guide How to Build a Fence Gate
Step 1 | Measure and Plan Your Gate Opening
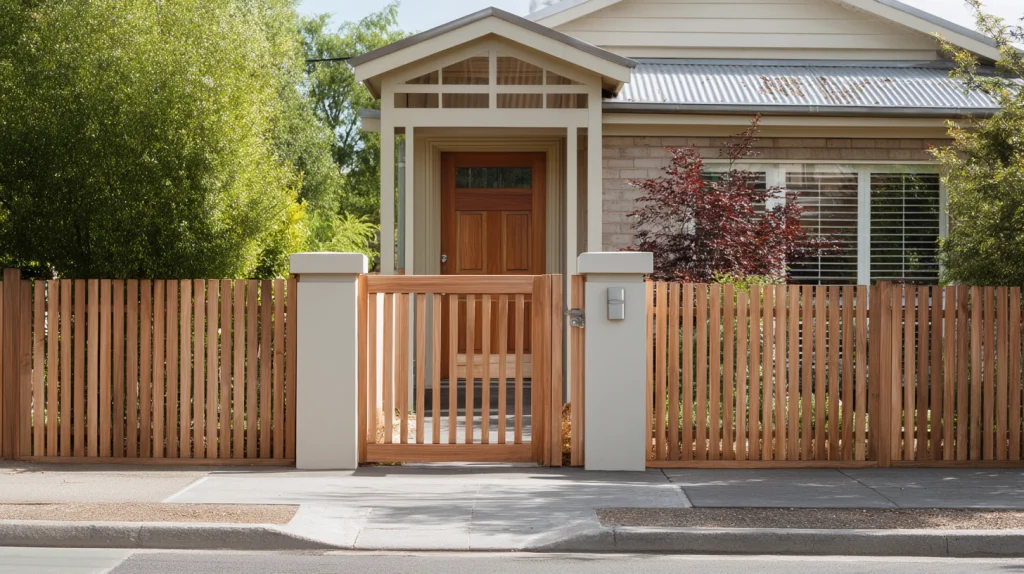
Before building anything, measure the opening between posts or where the opening will be. The opening determines the size of the gate frame and how the gate will swing. Standard walk gates are often three to four feet wide, but wider openings may require two gates or a double gate design.
Check the ground for slope. A sloped yard affects clearance and hinge position. Decide which side will carry the bottom hinge and where the latch will sit. Planning also includes deciding whether the gate opens inward toward the house or outward toward the other side of the fence. Good planning at this point prevents mistakes later in the building process.
Step 2 | Dig and Set Fence Gate Posts
Strong posts are the foundation of every sturdy gate. Dig post holes deep enough to support the weight of the gate. In most cases, holes should be at least thirty inches deep, and deeper in colder climates. Dig straight holes with a uniform diameter, removing loose dirt and rocks from the bottom.
Add a few inches of gravel to the bottom of the holes for drainage. Set the post in the hole, check that it is flat and plumb on all sides, then fill the hole with concrete. Work the concrete around the post to remove air pockets. The post should remain in position while the concrete sets. A second post may be needed if the opening is wide or if you are building a double gate.
Step 3 | Build the Gate Frame
The gate frame gives the gate its shape and strength. Measure the opening and subtract space for hinges and latch clearance. Cut the frame pieces to size, including top and bottom rails and vertical sides. Lay the frame on a flat surface and check each corner with a square.
Join the frame pieces using screws driven through drilled pilot holes. Pocket holes are often used in gate building to hide fasteners and improve strength. Countersunk holes allow screws to sit flush and reduce splitting in the wood. The frame must be square before moving on, as a twisted frame leads to sag.
Step 4 | Add Bracing and Reinforcement
A diagonal brace is critical to prevent sagging. Install the brace from the bottom hinge corner up to the opposite top corner. This brace transfers the weight of the gate back to the hinge side post. In larger gates, additional braces or cross pieces may be needed.
For extra strength, lag screws can be used at high stress joints. Tight joints help the frame act as one solid unit. Skipping bracing is one of the most common reasons gates fail over time.
Step 5 | Attach Boards or Slats
Once the frame is complete, attach the slats or boards. Boards should be evenly spaced to allow for expansion. Use screws rather than nails for better holding power. Each board should be checked for alignment as you work across the frame.
Wood slats add weight, so keep spacing consistent and avoid overbuilding. If privacy is required, plywood panels can be attached, but they add significant weight and may require heavier hinges and posts.
Step 6 | Install Hinges and Hardware
Hinges should be attached to the frame first, then to the post. Place the bottom hinge close to the bottom of the frame and the top hinge near the top for stability. Heavy gates may require a third hinge in the middle.
Install the latch on the opposite side at a comfortable height. Make sure the latch lines up correctly when the gate closes. Hardware should be installed with screws designed for exterior use. This step is critical to smooth operation.
Step 7 | Hang and Adjust the Gate
Lift the gate into position and attach it to the post. Check the clearance at the bottom and along the opening. The gate should swing freely without rubbing the ground or the other side of the fence.
Adjust hinges as needed to fine tune alignment. Even a well built gate may need small adjustments after installation. Take time here to get everything correct.
Pro Tips for a Durable Long Lasting Gate
Choose the Right Wood
Cedar is a popular choice for gates because it resists moisture and is lightweight. Pressure treated wood offers strength and affordability. Avoid low quality boards that are split or twisted, as they weaken joints and shorten the life of the gate.
Reinforce Wide or Double Gates
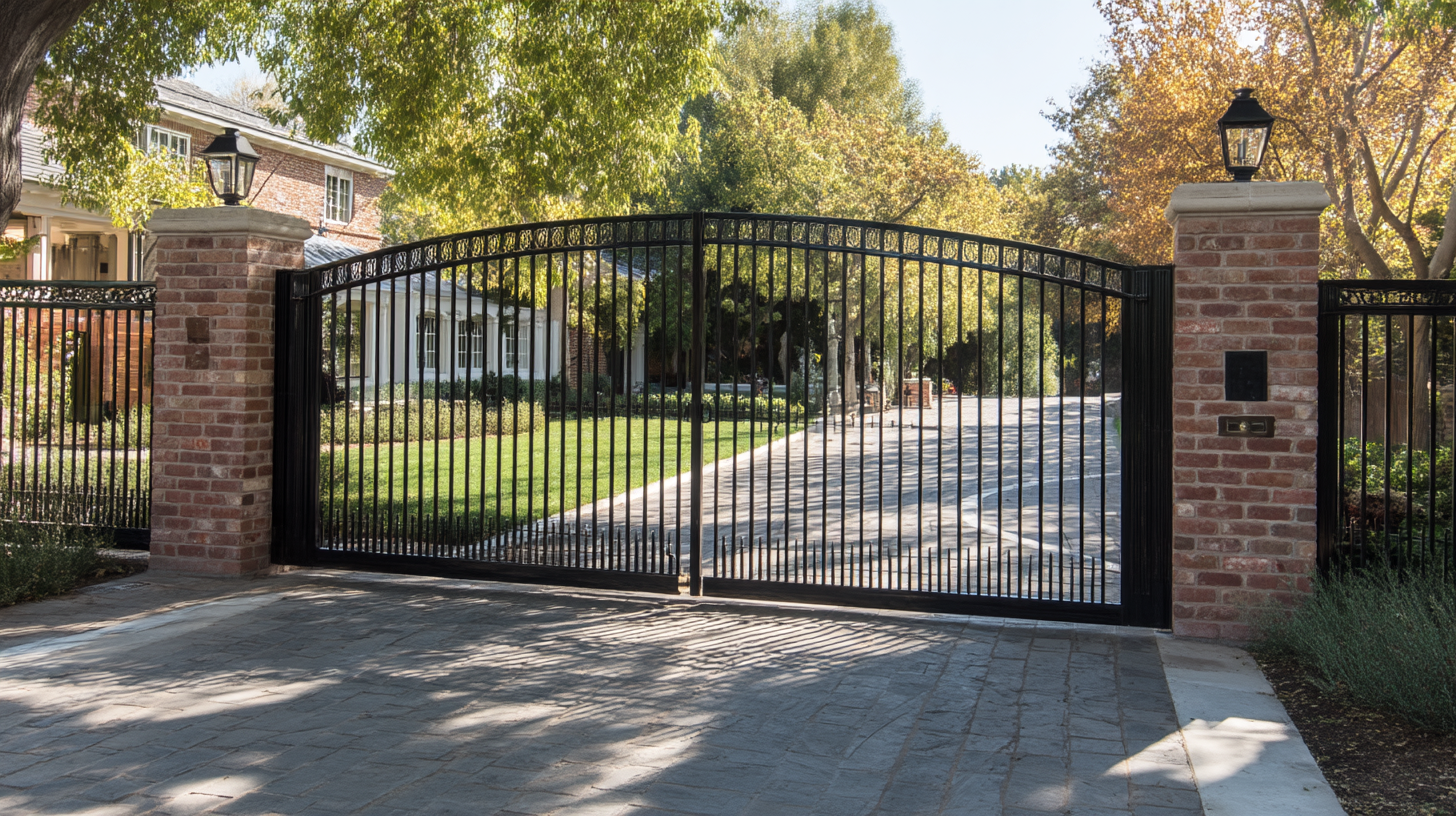
A double gate requires careful alignment of two gates meeting in the middle. Each gate needs its own sturdy post and proper bracing. Drop rods or cane bolts can help secure one gate while the other opens for access.
Protect Against Weather
Seal all exposed wood surfaces. Pay special attention to the bottom edge where moisture collects. Regular maintenance prevents rot and extends the life of the gate.
When to Hire a Fence Professional Instead
Some gate projects look simple but become complex due to location, slope, or size. Gates installed on uneven ground or near corners of the house require precise positioning. A wrong measurement can lead to constant sag and poor performance.
Professional installation ensures posts are set correctly, hardware is matched to the weight of the gate, and the finished product operates smoothly. This is especially important for security focused fences or large access points.
FAQs About Building a Fence Gate
What is the best wood for a fence gate
Cedar and pressure treated wood are the most common materials. Cedar resists insects naturally, while treated wood offers durability at a lower cost.
How deep should post holes be
Most post holes should be at least thirty inches deep. Deeper holes may be required depending on soil and climate.
How do I prevent sagging over time
Use a diagonal brace, strong posts, quality hinges, and proper installation. Sag is usually caused by weak bracing or shallow post holes.
Can a gate be installed on sloped ground
Yes, but careful planning is required. The gate frame must be built square, and clearance adjusted to avoid dragging on the ground.
Do I need special hardware for heavy gates
Heavy gates require heavy duty hinges, longer screws, and sometimes lag screws. Using light hardware is a common mistake.
Final Thoughts Build It Right the First Time
Learning how to build a fence gate gives you control over one of the most important parts of your fence. A well built gate improves access, security, and appearance. From digging proper holes and setting each post in concrete, to assembling a strong frame with proper bracing, every step matters.
Take your time, follow the process, and use quality materials. Whether you are upgrading old gates, adding a new gate, or planning future building projects, a strong and sturdy gate will serve your yard and house for years to come.